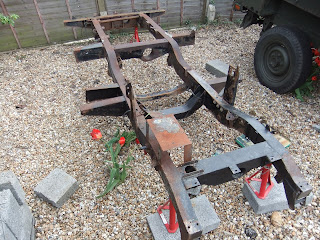
The undercoat "cures" really quickly so it's great to work with. The weather has been lovely this week so I was able to get the primer done one day and the top coat done the next.
My box of bits and pieces arrived in the post, so today I was able to crack on with the assembly.
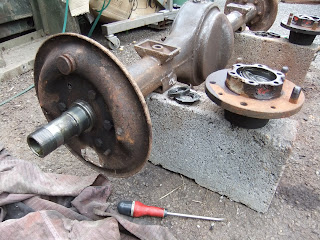
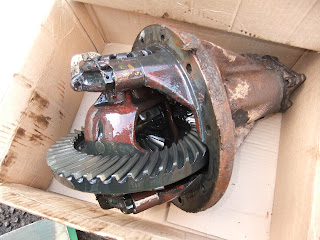
A new gasket and on with the diff. You can probably see that I've not cleaned and painted the plate that bolts to the prop-shaft. The simple reason being that I have a new seal to go in the "nose" of the diff and it is easier to replace this with the axle assembled. So when it's all back together, I'll whip that end piece off, replace the seal, and paint the plate up before replacing it.

Brake back plates on. These had really heavy surface rust on them, but cleaned up they look good to go for another forty years (maybe)!

You may recall I mentioned that the bearings were in excellent condition. So I took the decision not to replace them. I cleaned them thoroughly, then packed them with fresh grease and installed a new seal into each hub.
Hubs loosely assembled on axle - it's easiest to adjust the bearing "float" with a wheel installed, so I'll do that before installing the half-shafts.
You can see the brake cylinder installed. Here's the rest of the brake components in position.
The brake adjuster mechanism was a bit of challenge! I bought a pair of new ones which came with, let's call them "comprehensive" fitting instructions. The installation of the adjuster appears to be different for petrol engines, diesel engines, 6 cylinder engines, long wheelbase, short wheelbase, and so on. I think there were six different variations - none of which looked the same as the adjusters that I had removed. In the end, I found a configuration which suited Pod and they seem to work fine.
And finally (for now) the brake drums installed.
The more observant will notice that there are a few wheel studs missing! When I took the wheels off (all those months ago) several studs came out rather than the wheel nuts undoing. I ordered a handful of new ones which came in my box of spares - but they're the wrong ones. Doh! So I'll dig out the original wheel nuts and see if I can remove the studs without damaging them.
So there's still a few jobs to do on the rear axle before I can say it's complete - wheel bearings, wheel studs, diff seal and brake lines. Then I should be able to fill it up with oil and wrap it up, ready for installation...


